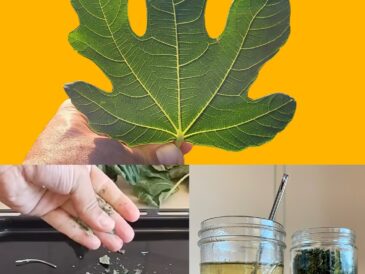
Whenever I’m wandering through the woods, I always have a basket or a mesh bag with me. There’s rarely a time when the forest doesn’t provide me with some treat to eat or useful objects.
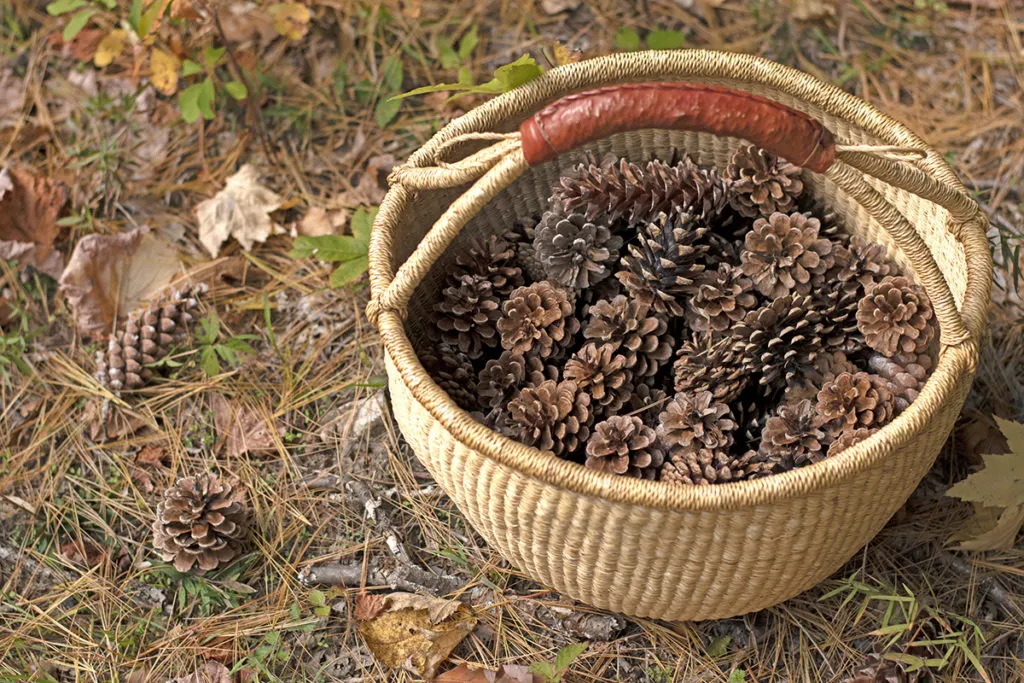
There’s an abundance of edible plants and mushrooms from spring through fall. But as fall brings cooler weather and glorious colors, my basket is almost always filled with acorns and pine cones.
Pine cones, naturally, come from pine trees. While all conifers produce cones, it’s only pine trees that give us the pine cones we all know and love.
Think of pine cones as a built-in security system to ensure the next generation of trees.
The female cones contain the seeds, and it’s the female cone that we collect. However, on the tree, the cones stay tightly closed during cold or windy weather to protect these precious seeds. When the weather is warm, the pine cones open, dispersing the seeds so that new trees can grow.
Pine cones are pretty amazing parts of the natural world when you think about it. Some types of pine trees will only open their cones under the extreme temperatures produced by forest fires. The bottoms of pine cones spiral outward in what’s called the Fibonacci Sequence, a commonly found pattern in nature. And some cones remain on the tree for up to ten years.
Usually, you can find pine cones year-round wherever pine trees abound.
Or if you live in an area without pine cones you can find them for sale on eBay, Amazon, and Etsy.
Something about fall seems to make us want to gather them and decorate our homes with them. Maybe it’s that spiraling Fibonacci pattern that catches the eye when you see them on the forest floor.
They have a rustic charm without any additional adornment. Perhaps this simple beauty makes pine cones the perfect item for bringing some of the outdoors inside. Whatever it is, come fall, many of us find ourselves scooping up pine cones wherever we find them.
Of course, some homeowners with pine trees on their property find them more of a nuisance than anything else. Evergreens can be viewed as messy, dropping needles and cones everywhere. But these stately looking trees make excellent windbreaks and natural privacy screens, so they continue to be an excellent addition to your landscape.
And for the wise homeowner, they know all of those pine needles can be put to good use. And the many pine cones on their lawn are a blessing, rather than a curse.
But maybe you’re wondering what to do with these small, spiky treasures beyond a homey decoration?
In this article, I’ve got nine simple and practical suggestions for you.
Keep reading to learn how to put a bounty of pine cones to good use both in your home and garden.
Bake Before Use
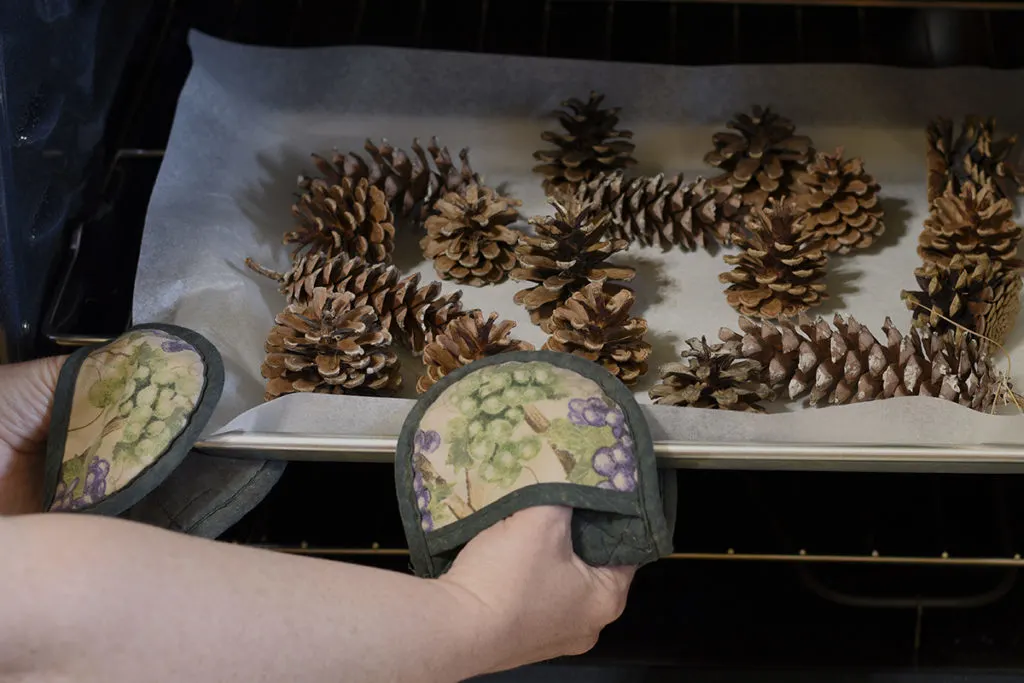
Before using pine cones in your home or for crafts, it’s a good idea to bake them to kill any unwanted pests or plant diseases. Place them on a foil or parchment-lined baking sheet and bake them at 200 degrees F for 20-30 minutes. (Your house will smell great.)
Let the cones cool completely before using them. Pine cones and pine resin are highly flammable. It’s very important to bake them at a low temperature and check them frequently.
Using Pine Cones Around the Home
1. Protect Houseplants from Pets and Pests

If you have a cat or dog and you have houseplants where they can reach them, most likely, you’re often cleaning up potting soil from the floor. Put a layer of pine cones around the base of your plants to keep naughty pets at bay.
This protective layer can also prevent a fungus gnat infestation. The gnats will only lay eggs in damp soil that they can easily get to. Putting up this natural barricade makes it harder for fungus gnats to get into the soil. Not to mention, they look nice around the base of your plants.
If you go this route, be sure to water the plants below the pine cones, keeping the tops dry. This will further discourage a fungus gnat infestation.
2. Scented Pine Cones
Come October; you can’t walk into a craft store or home goods store without the overpowering scent of cinnamon assaulting you. Every lobby of these stores has a bin heaped high with red-netted bags filled with cinnamon scented pine cones.
Don’t get me wrong, I love the smell of cinnamon, but these annual fall offerings are always way too overpowering to be enjoyable. Not to mention most of them use synthetic scents that smell less natural and more chemical. It’s enough to make your eyes water!
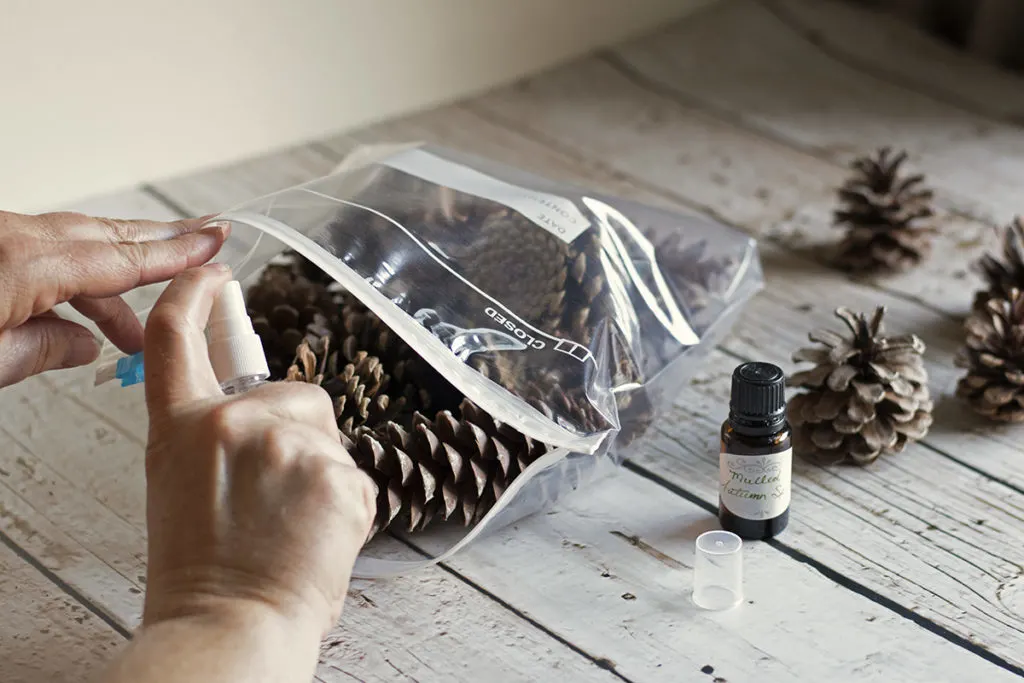
You can easily make your own scented pine cones at home with little more than a plastic storage bag, essential oils, and a spray bottle.
Scenting them yourself means you can mix a blend of essential oils to come up with your own home scent.
- Place the pine cones into a plastic zip-top storage bag; the gallon size seems to work best.
- Then add a few drops of your choice of essential oil.
- Seal the bag and shake well. Let the cones sit in the sealed-bag for a week.
I found that this didn’t really distribute the essential oil well onto all of the cones. I used a small spray bottle and mixed my essential oils into a neutral carrier oil (grapeseed).
Then I spritzed the cones and the inside of the bag with this mixture before closing, shaking, and letting them sit for a week.
This application method did a much better job over all.
After a week, remove the pine cones and place them around your home as a natural air freshener.
3. Rustic Pine Cone Place Card Holder
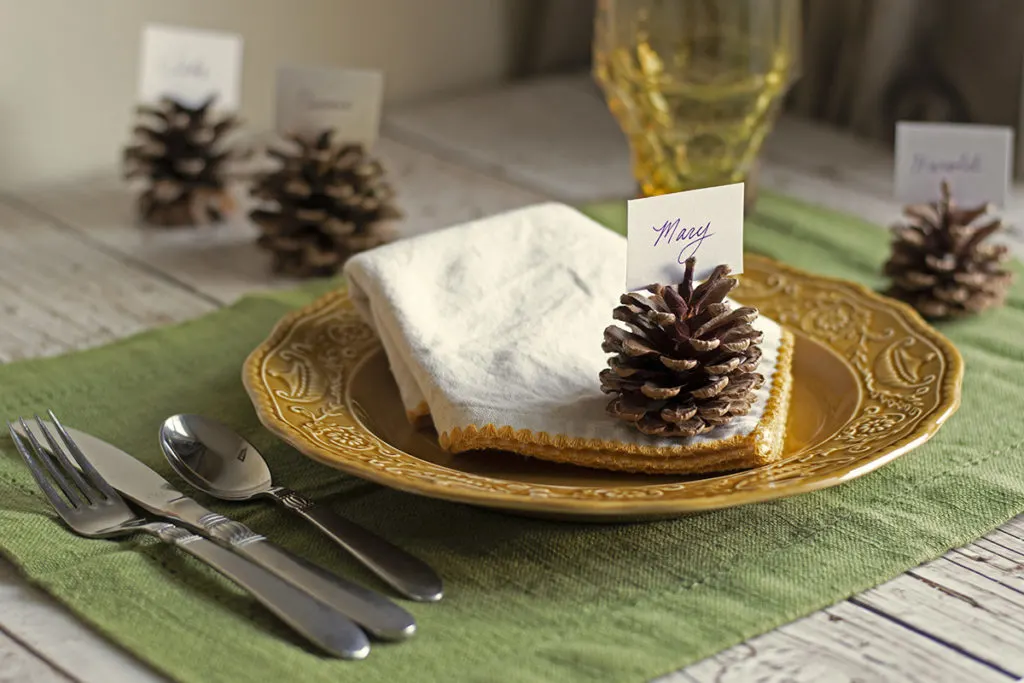
Add a quick touch of whimsical charm to any dinner with pine cone place card holders. Tuck the notecard with your guests’ names into the top spines. Add a few extra cones around the table too.
These look lovely with no other adornment for a rustic, fall, or winter place setting. Of course, you can always dress them up if you want something with a bit more pop. However, I love the look of natural pieces inside the home.
4. Natural Fire Starters
If you’ve got an abundance of pine cones, consider making these beautiful fire starters. They’re easy to make and require only paraffin wax.
However, to make them extra special, use pieces of a broken-up crayon to color the wax. And sprinkle the wet wax with dried herbs for a wonderfully scented fire. Thyme, rosemary, nutmeg, and sage all are wonderful herbs for these fire starters.
These make thoughtful homemade gifts.
Give a dozen pine cone fire starters as a Christmas gift to anyone with a fireplace. And don’t forget the family members who love spending summer evenings around the fire pit or the friends who are always going camping.
- Using a double boiler, slowly melt the paraffin wax over low heat. Once the wax is melted, stir in a few crayon pieces if you’re coloring the wax.
- Now turn off the heat and set a timer for ten minutes. You want the wax to cool and thicken a little bit. Otherwise, you’ll get a thin coating of wax, and subsequent dippings will melt off.
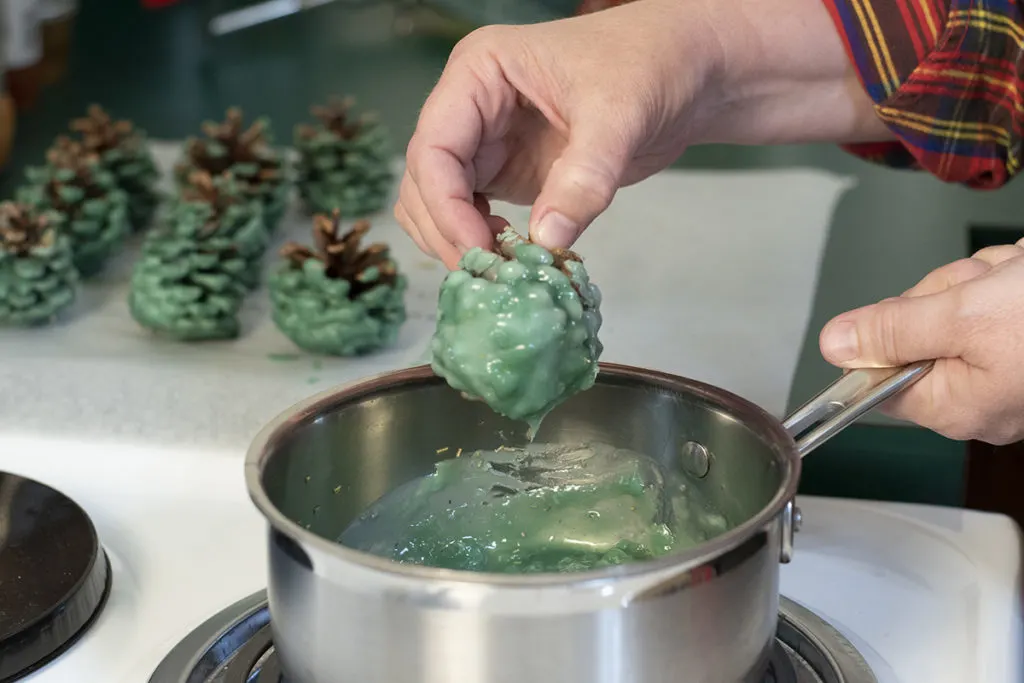
- Stir the wax again and then dip the cone into the wax, rolling it to coat all sides. Hold the pine cone on its side, allowing excess wax to drip back into the pan.
- Place the cone on a sheet of wax or parchment paper to solidify. If you want, add dried herbs to scent the fire starters. Sprinkle the herbs on while the wax is still wet.
- You can then dip the pine cones again to cover the herbs in wax and build up a thicker layer. Repeat the process of melting the wax and then letting it cool a bit again.
- Let the cones cool on the paper for 24 hours.
I held the pine cone by the tip when I dipped mine. However, if you want a firmer grasp or do this with kids, wrap a bread tie or piece of floral wire around the tip to make dipping the cones easier.
A tip – the easiest way to remove the wax from your pan is to put the pan in the freezer for half an hour once it cools. The wax will easily pop out and break up once it’s frozen.
CONTINUE READING IN PAGE 2