Step 5: Maintain and Monitor Growth
Place the glass or container in a sunny spot, like a windowsill, where it will receive indirect sunlight. Change the water every few days to keep it fresh. Within a few weeks, you should start to see sprouts and roots forming.
Step 6: Transplanting to Containers
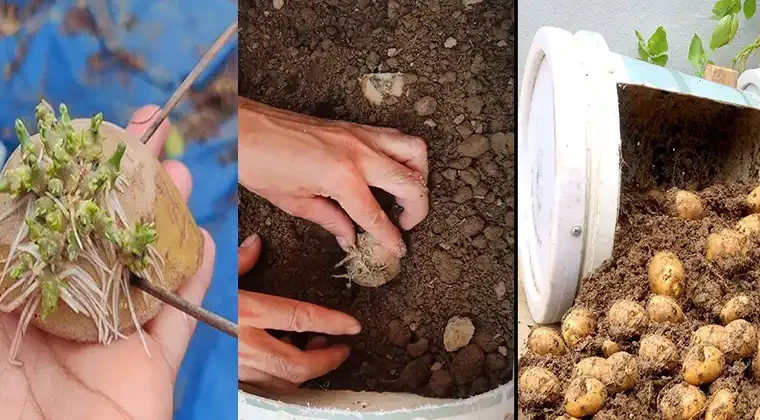
Once your potato slices have grown healthy sprouts (about 2-3 inches in length) and have developed strong roots, it’s time to transfer them to containers.
- Fill a larger container (such as a grow bag or a large pot) with well-draining potting soil, leaving a few inches at the top.
- Gently remove the potato slices from the water, being careful not to damage the sprouts or roots.
- Plant each potato slice in the container with the sprouts facing upward and the roots facing downward. Cover them with soil, leaving the tops of the sprouts exposed.
Step 7: Care and Maintenance
Place the container in a location that receives at least 6-8 hours of direct sunlight each day. Water your potato plants regularly, keeping the soil consistently moist but not waterlogged. You can also apply a balanced fertilizer according to the package instructions.
Step 8: Harvest Your Potatoes
In a few months, your potato plants will flower, and the tubers will be ready for harvest. Carefully dig around the base of the plant and collect your homegrown potatoes.
In conclusion, growing potatoes at home from a single potato is a simple and enjoyable process that allows you to enjoy the satisfaction of growing your own food. Whether you have a small balcony or a spacious garden, this method can be adapted to fit your available space. Happy gardening and enjoy your fresh, homegrown potatoes!