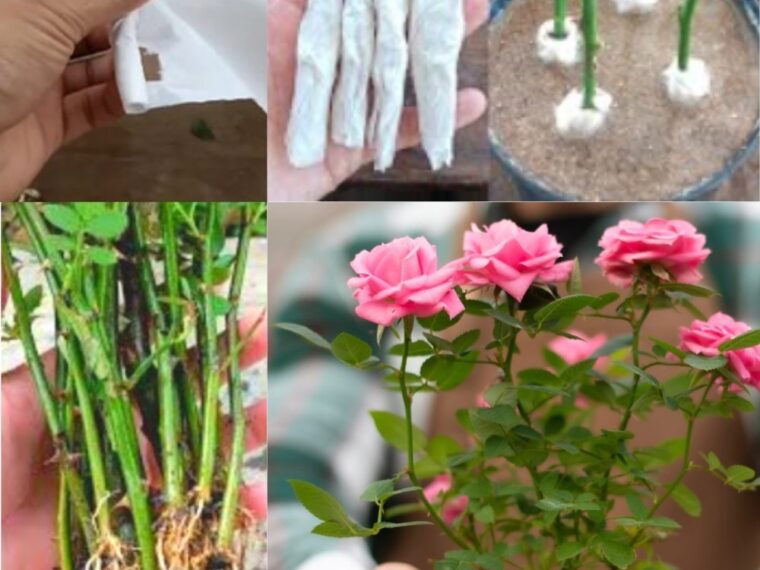
Roses, with their enchanting beauty and aromatic fragrance, are quintessential garden treasures. Growing them from cuttings is an economical and rewarding way to expand your rose collection. Surprisingly, one household item, often overlooked in the gardening world, can aid in this propagation endeavor: toilet paper. Yes, you read that right! With just a few simple steps and some everyday materials, you can propagate roses with ease using toilet paper. Let’s dive into the fascinating world of rose propagation through this unconventional yet effective method.
Understanding Rose Propagation:
Before delving into the specifics of using toilet paper for rose propagation, it’s essential to understand the basics of how roses propagate. One of the most common methods is through stem cuttings. This involves taking a healthy stem from a mature rose plant and encouraging it to develop roots, essentially creating a new plant genetically identical to the parent.
Why Toilet Paper?
Toilet paper might seem like an odd choice for propagating roses, but its porous and biodegradable nature makes it an excellent medium for fostering root growth. The toilet paper acts as a protective layer around the cutting, helping to maintain moisture levels while allowing air circulation—a crucial factor in successful propagation.
Materials You’ll Need:
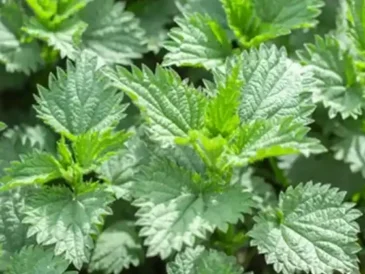
- Healthy Rose Cuttings: Select stems from a healthy, disease-free rose plant. Choose stems that are young, green, and free from blooms.
- Toilet Paper: Opt for single-ply, unbleached toilet paper for best results.
- Rooting Hormone: This optional but beneficial substance promotes root development and increases the chances of successful propagation.
- Potting Mix: Prepare a well-draining potting mix suitable for rose propagation.
- Planting Pots: Small pots or containers for planting the cuttings.
- Clear Plastic Bags or Domes: These will create a humid environment to encourage root growth.
- Watering Can or Spray Bottle: For watering the cuttings.
Step-by-Step Guide: