5. Air Dry and Inspect
After washing:
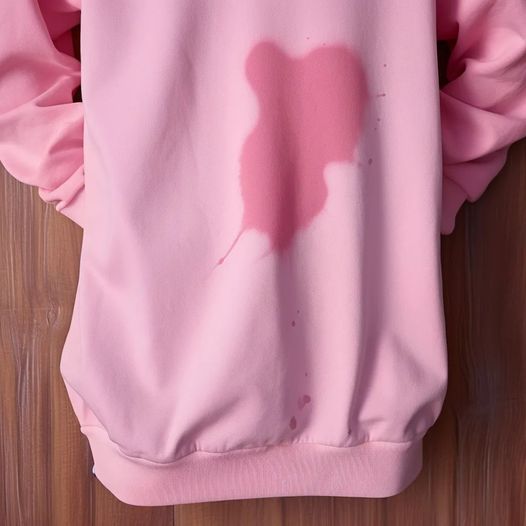
- Do not put the sweatshirt in the dryer until you’re sure the stain is completely gone. The heat from the dryer can set the stain permanently if it’s still there.
- Air dry the sweatshirt by hanging it up or laying it flat to dry.
- Inspect the area where the stain was after the sweatshirt has dried. If the stain is completely gone, you’re good to go!
6. If Stain Persists: Use a Solvent or Commercial Stain Remover
If the grease stain is still there after all of the above steps, you may need to resort to a stain remover specifically formulated for oil and grease stains. You can find these at most stores in the laundry aisle.
- What you’ll need:
- A commercial stain remover (like Zout, Shout, or a specific grease remover)
- A small brush or sponge
- How to do it:
- Apply the stain remover directly to the grease stain.
- Let it sit for the recommended amount of time (usually 5-10 minutes).
- Gently blot or rub the stain with a soft brush or sponge.
- Wash the sweatshirt again.
Pro Tips for Future Grease Stains:
- Act Quickly: The sooner you can treat a grease stain, the better. Fresh grease stains are much easier to remove than older, set-in stains.
- Don’t Iron Over a Grease Stain: Heat can set the grease stain, making it harder to remove. If possible, avoid ironing over stained areas until they are completely cleaned.
- Check the Label: Always check the care label on your sweatshirt before using any treatments. Some fabrics may be more delicate and could be damaged by harsh chemicals or high heat.
Conclusion:
While grease stains can be stubborn, they are definitely not impossible to remove, even after washing and ironing. By following these steps — from pre-treating with dish soap to using baking soda or a commercial stain remover — you can restore your sweatshirt to its former stain-free condition. Just remember to be patient and treat the stain as soon as possible to get the best results
Pages: 1 2


